Thursday, 1 August 2013
Upgrading Your Motherboard
Here's a basic walkthrough of a motherboard upgrade.
1. Set up a workspace, and make sure that it provides you with adequate lighting. Also, be sure to give yourself enough room to lay out tools and parts. Good lighting is especially critical if your case has an all-black interior.
2. Prior to disassembling the system, back up the contents of your hard drive.
3. Collect all CD keys. Deactivate or deauthorize any applications that you activated previously. This includes iTunes and Adobe professional apps (such as Photoshop and Premiere CS5). In addition, be sure to uninstall or deactivate any games that required activation.
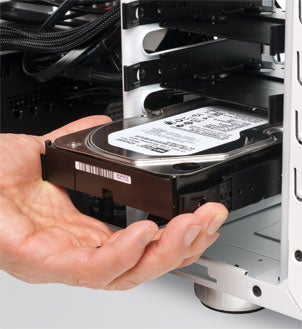
4. Determine which parts need to be removed. You may have to take out the power supply unit (PSU) or hard drives to make motherboard removal easier. If you have to remove the PSU, take care to disconnect all power cables first. The ATX12V (a small four- or eight-pin connector) is easy to overlook.

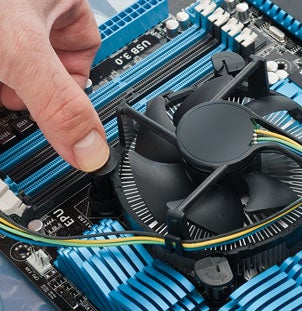
5. Take out all cards, the CPU fan, and all memory. If you're not upgrading the CPU, you can leave it in the socket for the moment.
7. Remove all the screws holding the motherboard in place. Usually, a number 2 Phillips screwdriver will fit the screws. Place the old board in an antistatic bag.
8. Check to confirm that all of the mounting nuts are firmly screwed into the case. Sometimes, these nuts will come out or become loose when you remove the motherboard screws.
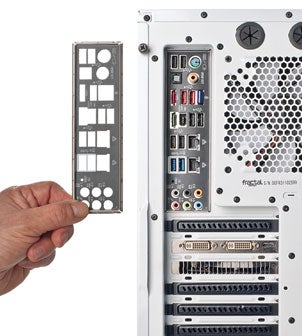
9. Remove the ATX I/O shield, and store it with the old motherboard.
11. Are you using an exotic cooler? If so, it may require that a special support plate be attached to the underside of the motherboard.
12. Line up the I/O ports with the holes in the ATX I/O shield. Then align the screw holes with the motherboard mounting nuts on the interior of the case.
13. Carefully screw in the mounting screws. Do not overtighten them. If you have an electric screwdriver equipped with an adjustable clutch, set the clutch to the minimum setting. If your electric screwdriver doesn't have a clutch, use a hand screwdriver instead.
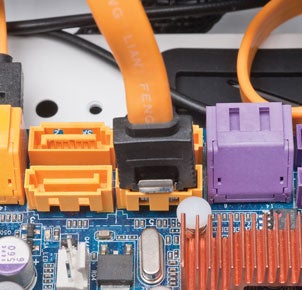
15. Reattach all of the wiring and cables that you disconnected earlier: front panel connectors, USB wiring for the USB case connectors, power cables, wires for the case fan, and so on. If your case allows you to route wiring behind the motherboard, do so now.
16. Attach the power cables, taking care to connect both the main and the ATX12V cables.
18. Plug in the data cables and the power connectors to the storage devices.
19. Reinstall any cards you may have removed. If you're installing a high-performance graphics card, make sure that you attach the PCI Express power connectors.
20. Connect wall power, the video cable, the mouse, and the keyboard, and give the system a test boot. If nothing happens, make sure that the PSU switch is on.
21. When you boot the system (assuming that you're using Windows), you'll need to wait while Windows accounts for all of the new motherboard devices. Your keyboard and mouse may be unusable during this time.
22. Once Windows has logged all of the devices, you will have to reboot.
23. Take the motherboard CD and install the new motherboard drivers, network drivers, video drivers (only if you're using integrated graphics), USB 3.0 drivers, and so on. You may need to reboot several times.
24. Once you've done all of this, check to see whether Windows needs to be reactivated. If so, first try activating over the Internet. If this fails, call the toll-free number listed in the Activation Window. If you do activate over the phone, be sure you tell Microsoft that you're installing this copy of Windows on one system. This is just an upgrade after all.
25. Reinstall and reactivate any needed applications.
26. You should be set to go


